Understanding Viewport Meta Tags and Device Scaling
The viewport meta tag is your first step toward responsive design. Here’s how to set it up correctly for mobile devices and what each property actually does.

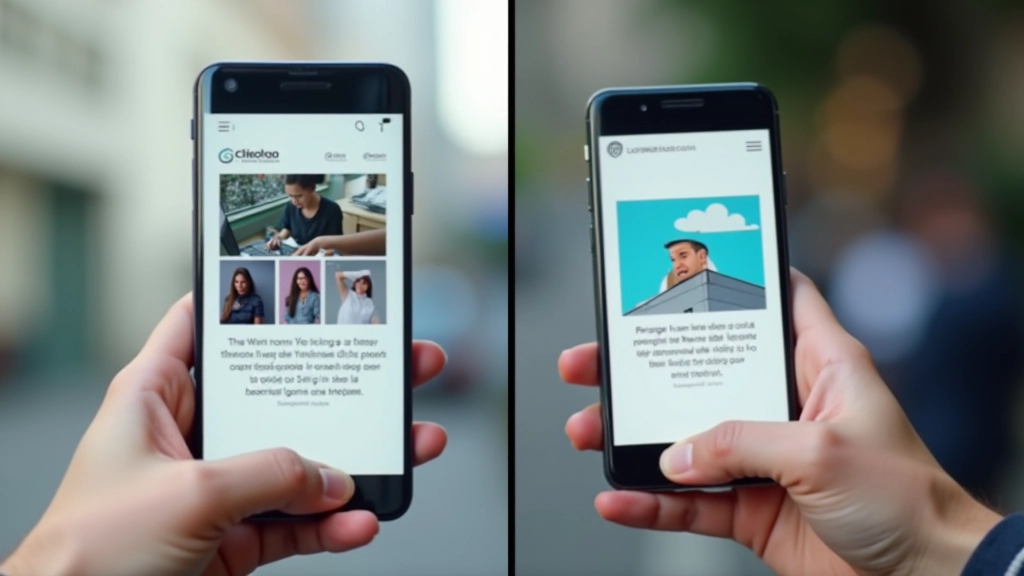
You’ve probably seen this line of code before. It’s just one tiny tag, but it changes everything about how your website displays on mobile devices. Without it, your carefully crafted design falls apart on smaller screens. With it? Everything just works.
The viewport meta tag tells mobile browsers how to render your page. It’s not optional—it’s the foundation that makes responsive design possible. We’re going to break down exactly what it does, why you need it, and how to use it properly.

What’s a Viewport, Really?
The viewport is the visible area of a web page on a user’s device. On a desktop monitor, it’s basically your browser window. On a phone, it’s much smaller—typically around 375 pixels wide on an iPhone, though it varies across devices.
Here’s the problem that existed before viewport meta tags. Mobile browsers would render desktop sites at their full width (often 960-1024 pixels) and then shrink everything down to fit the small screen. Text became unreadable. Buttons were impossible to tap. Navigation menus didn’t work. Users had to pinch and zoom constantly—a terrible experience.
The viewport meta tag solved this by letting you tell the browser: “Hey, actually render at the device width, not at some arbitrary desktop width.” Suddenly, responsive design became practical.


The Standard Viewport Meta Tag
You’ve probably seen this exact line a thousand times. It’s the most common viewport meta tag, and honestly, it’s what you should use on almost every project:
<meta name="viewport" content="width=device-width, initial-scale=1.0">
Breaking this down:
width=device-width
tells the browser to make the viewport width match the device’s screen width.
initial-scale=1.0
sets the zoom level to 100% when the page first loads. No automatic zooming. No weird scaling. Just the content at its intended size.
This single tag is why modern responsive websites work. Without it, you’re fighting an uphill battle.
Understanding Each Property
The basic version works great, but you might see variations depending on what a project needs. Let’s look at the other properties you can add.
width=device-width
Sets the viewport width to match the device screen width. This is almost always what you want. Don’t fight the device—work with it.
initial-scale=1.0
Controls zoom on page load. 1.0 means 100%—no scaling. This prevents browsers from auto-zooming based on their own assumptions about your content.
maximum-scale
Sets the maximum zoom level users can achieve. Setting this to 1.0 prevents zooming entirely, which you generally don’t want—accessibility matters.
user-scalable=yes
Controls whether users can pinch-zoom. Default is yes, and you should leave it that way. Disabling zoom creates accessibility issues.

Common Mistakes to Avoid
Most developers get this right, but there are still patterns that show up regularly and cause problems.
This prevents users from zooming, which is bad for accessibility. People with low vision need to zoom. Don’t do this.
This defeats the entire purpose. You’re telling it to render at a fixed desktop width on mobile. Just don’t.
Like maximum-scale=1.0, this creates accessibility problems. Let users zoom if they need to.
The most common mistake. You’ll build a responsive design, test on desktop, then wonder why it looks weird on mobile.
Put This in Every Project
This isn’t optional. If you’re building anything for the web in 2026, you’re using this tag. It’s the first line of defense for mobile users. Put it in your template. Make it automatic. Don’t even think about it—just include it.
The viewport meta tag is where responsive design starts. Media queries handle the styling changes. Flexible grids handle the layout. But the viewport tag? That’s what tells the browser to care about mobile devices in the first place.
“The viewport meta tag is the foundation. Everything else is built on top of it. Miss this, and your responsive design fails before it even starts.”
You’re ready. Add this tag to your projects, and you’ve already solved the biggest mobile rendering problem. The rest—media queries, flexible layouts, responsive images—those build on this foundation. But they can’t work without it.
About This Guide
This guide is educational material designed to help you understand viewport meta tags and responsive web design principles. Information is current as of March 2026. Web standards and browser implementations may vary. Always test your implementations across real devices and browsers. For the most current specifications, refer to MDN Web Docs and W3C standards documentation.
Continue Learning
Deepen your understanding of responsive design with these related articles.

Media Queries Explained: From Mobile to Desktop
Media queries are how you tell browsers to apply different styles at different screen sizes. Learn the syntax and strategies that power responsive design.
Read Article
Building Flexible Grids That Adapt to Any Screen
Flexible grids are the foundation of responsive design. Learn how to use percentages and flexible units to create layouts that adapt naturally.
Read Article
Why Mobile-First Development Actually Works Better
Starting with mobile forces you to focus on what matters. You’ll build lighter, faster websites that scale beautifully to larger screens.
Read Article